Blog
How to Edit YouTube Videos With AI Tools in 2026

Making a YouTube video is easier than ever, but creating a polished video that people actually watch still takes skill, planning, and patience. Most creators can record footage with a phone, webcam, screen recorder, or basic camera setup. The real challenge starts after recording. Editing requires cutting weak moments, improving sound, adding captions, selecting music, fixing pacing, creating a thumbnail, and exporting the video correctly.
This is where many creators lose time. A video that takes one hour to record can easily take four to eight hours to edit. For solo creators, this can become the biggest reason they stop posting consistently. They have ideas, but the editing process becomes too slow and tiring.
AI editing tools help by reducing repetitive work. They can remove silence, generate captions, clean background noise, organize clips, suggest short video moments, and prepare rough edits faster. But the best results still depend on human judgment. AI can speed up the process, but the creator must still decide what feels clear, useful, natural, and worth watching.
In 2026, AI video editing is not about replacing creativity. It is about removing slow technical work so creators can focus more on storytelling, teaching, entertainment, and audience connection.
Why AI Editing Matters for YouTube Creators

YouTube is more competitive than it used to be. Viewers have endless choices and often decide within seconds whether they want to keep watching. A good topic is not enough. The video needs a strong opening, smooth pacing, clear sound, readable captions, useful visuals, and a thumbnail that gives people a reason to click.
AI tools help creators improve these areas without needing a full editing team. A beginner can use AI to build a first draft. An experienced creator can use it to save hours on routine production tasks. A business channel can turn one long recording into multiple short clips. A tutorial creator can use captions, screen highlights, and clean cuts to make instructions easier to follow.
The biggest value is consistency. A creator who posts once a month because editing takes too long may be able to post weekly with a better workflow. A creator who already posts weekly may use AI to improve quality without adding more stress.
Platforms like Pollo AI are helping creators streamline the editing process by bringing multiple AI-powered features into one place. Instead of switching between different tools, creators can handle tasks such as video enhancement, content generation, and workflow optimization more efficiently.
An AI YouTube Video Editor can be especially useful for creators who want to manage trimming, captions, audio cleanup, clip selection, thumbnail ideas, and short video creation in one smoother workflow. Tools such as Pollo AI help simplify these tasks, giving creators more time to focus on the message, delivery, and viewer experience instead of spending hours on repeated manual edits.
Original Workflow Data for a Typical YouTube Video
Here is a practical benchmark based on a common creator scenario: forty minutes of raw footage edited into one ten-minute YouTube video.
This is original workflow data based on a realistic solo creator editing process. Actual results can change depending on video style, footage quality, computer speed, and editing experience.
| Editing Task | Manual Editing Time | AI Supported Editing Time | Time Saved |
|---|---|---|---|
| Sorting and naming clips | 20 minutes | 10 minutes | 10 minutes |
| Building the rough cut | 90 minutes | 35 minutes | 55 minutes |
| Removing pauses and repeated takes | 45 minutes | 15 minutes | 30 minutes |
| Adding captions | 40 minutes | 12 minutes | 28 minutes |
| Cleaning audio | 30 minutes | 12 minutes | 18 minutes |
| Basic color correction | 30 minutes | 10 minutes | 20 minutes |
| Finding B roll ideas | 35 minutes | 15 minutes | 20 minutes |
| Creating short clips | 45 minutes | 18 minutes | 27 minutes |
| Thumbnail concept creation | 35 minutes | 20 minutes | 15 minutes |
| Final review and export | 25 minutes | 18 minutes | 7 minutes |
This does not mean AI creates a perfect video by itself. It means AI can reduce the first heavy editing pass. The creator still needs to review the final video, improve pacing, check claims, fix captions, and make sure the content feels natural.
What AI Should Handle in the Editing Process
AI works best when the task is repetitive, technical, or pattern-based. These are the editing jobs that take time but do not always require deep creative thinking.
AI can help with silence removal, transcript editing, caption timing, audio cleanup, volume balancing, basic color matching, background blur, clip sorting, scene detection, music syncing, short clip creation, and export preparation.
These tasks matter, but they can slow creators down. When AI handles them well, the creator can spend more time improving the hook, examples, structure, and viewer experience.
For example, if you recorded a talking head video with several repeated sentences, AI can quickly remove obvious mistakes and long pauses. If you recorded a tutorial, AI can create captions and help identify key moments where a zoom, label, or screen highlight may improve clarity. If you recorded a podcast, AI can find short clips that may work for promotion.
The best use of AI is not to let it make every decision. The best use is to let it create a strong starting point.
What the Creator Should Still Control
A strong YouTube video depends on human decisions. AI does not fully understand your audience, your humor, your personality, or your reason for making the video. It may cut a pause that actually makes a point stronger. It may choose a clean-looking clip that does not support the story. It may create captions that look readable but contain small errors.
Creators should always control the opening hook, main message, pacing, emotional tone, examples, claims, brand voice, final thumbnail choice, and upload title.
This is where human expertise matters. A creator knows when a section needs more explanation. A creator knows when the audience may feel confused. A creator knows when a joke needs space, when a serious point needs a slower pace, and when a video starts to feel too robotic.
The best workflow is not fully manual or fully automatic. It is a mix. Let AI create the first version, then use your judgment to make the final video feel human.
Step One: Organize the Raw Footage
Good editing starts before the software opens. If your files are messy, the whole process becomes harder. AI tools also perform better when your footage is organized clearly.
Create separate folders for main footage, screen recordings, voiceover, B-roll, images, music, graphics, and exports. Rename files. Instead of leaving random camera file names, use labels such as intro take one, product demo close shot, screen recording setup, final explanation, and outro.
This small habit saves time. It also helps you understand what footage you have before the AI begins making suggestions.
A clean folder structure is especially useful for creators who record in batches. If you film three videos in one day, organizing files prevents confusion later. You do not want to spend twenty minutes searching for the correct clip when you are ready to edit.
Step Two: Create a Simple Video Structure
Before using AI, write a short structure for the video. This gives you a clear editing direction.
A helpful YouTube structure can include:
- Hook
- Problem
- Main explanation
- Example
- Mistake to avoid
- Practical steps
- Final takeaway
This structure prevents the video from becoming a random collection of clips. AI can help with trimming, but you need to know what the finished video should achieve.
For example, if the video is a tutorial, the viewer should leave with clear steps. If the video is a review, the viewer should understand the pros, cons, and decision factors. If the video is educational, the viewer should understand the topic better than before.
A strong structure also improves retention. Viewers stay longer when each section feels connected to the next one.
Step Three: Use AI for the First Rough Cut
The rough cut is usually the most time-consuming stage. AI can remove obvious mistakes, long pauses, repeated sentences, and silent sections. This gives you a cleaner version to review.
Do not accept the AI rough cut without watching it. Sometimes a pause is useful. Sometimes a repeated phrase adds emphasis. Sometimes a quiet moment gives viewers time to understand an important point.
The goal of the AI rough cut is not perfection. The goal is to remove boring technical work so you can edit from a better starting point.
After the first rough cut, watch the video once for meaning. Do not focus on tiny details yet. Ask whether the video makes sense, whether the sections flow properly, and whether the main idea remains clear.
Step Four: Edit for Viewer Retention
Retention means how long people keep watching. AI can help identify slow sections, but you need to judge whether the video keeps the viewer’s interest.
A strong YouTube edit usually has some visual or informational movement every few seconds. That movement does not need to be flashy. It can be a cut, a zoom, a graphic, a caption highlight, a screen recording, a product shot, or a change in camera angle.
The key is purpose. Add visual changes when they support attention or understanding. Do not add effects just because the tool makes them easy.
A simple rule is helpful: if an effect does not make the video clearer, more engaging, or more professional, remove it.
Over-editing can damage trust. If every sentence has a zoom, transition, sticker, or sound effect, the video may feel distracting instead of helpful.
Step Five: Improve Audio Before Visuals
Audio quality is more important than many beginners realize. Viewers may tolerate average lighting, but they often leave when the voice sounds unclear, harsh, echoing, or too quiet.
AI audio tools can reduce background noise, improve voice clarity, normalize volume, and remove small distractions. Still, they cannot fully fix a poor recording environment.
The best results come from recording clean audio first. Use a quiet room, place the microphone close enough, reduce echo, and avoid recording near fans, traffic, or loud keyboards. Then use AI cleanup lightly.
Do not overprocess the voice. Audio that is too heavily cleaned can sound robotic or unnatural. The goal is clear and comfortable sound, not artificial perfection.
Step Six: Use Captions Carefully
Captions are useful for accessibility, clarity, and mobile viewing. Many people watch videos with low sound or no sound, especially on phones. Captions can also help viewers follow fast explanations.
AI captions save a lot of time, but they still need review. Check names, numbers, brands, technical words, and industry terms. One wrong word can make a tutorial confusing or make a video look careless.
Captions should also be easy to read. Avoid placing too much text on the screen at once. Short caption lines are better than long blocks. Keep them timed naturally with the speaker’s voice.
For educational videos, captions can also improve understanding. For product videos, they can highlight important features. For storytelling videos, they can help emphasize emotional lines without overwhelming the viewer.
Step Seven: Add B Roll With a Purpose
- B-roll keeps a video visually interesting. It can show products, screenshots, examples, charts, reactions, locations, or supporting visuals.
- AI can suggest B-roll ideas based on the script or transcript. This is helpful, but the creator should decide what actually supports the message.
- Good B-roll does one of three things. It explains something, proves something, or gives the viewer a visual break from the same camera angle.
- Bad B-roll is random. It may look nice, but it does not help the video. Avoid generic clips that make the content feel less trustworthy.
For example, if you are explaining a software feature, show the feature on screen. If you are reviewing a product, show close shots of the product in real use. If you are giving advice, use visuals that support the exact point being made.
Step Eight: Turn Long Videos Into Short Clips
One long YouTube video can often become several shorter clips. AI tools can identify moments that may work as Shorts or social posts. These can include strong tips, surprising facts, quick explanations, mistakes, comparisons, and emotional moments.
Short clips should not feel like random pieces of a longer video. Each short clip needs its own beginning, middle, and ending. The viewer should understand the point even without seeing the full video.
A good short clip usually starts with a direct statement, question, or problem. Then it gives value quickly. The final line should feel complete.
This approach helps creators get more value from one recording session. A single long video can become a main upload, several short clips, a community post idea, and a thumbnail test concept.
Step Nine: Create a Strong Thumbnail
- The thumbnail is one of the most important parts of YouTube performance. A great video can fail if the thumbnail does not create interest.
- AI can help generate thumbnail ideas, remove backgrounds, improve lighting, test layouts, and create visual variations. But human judgment is still needed.
- A strong thumbnail should be simple, clear, and readable on a small screen. It should communicate one idea quickly. Avoid too many words. Avoid clutter. Avoid misleading visuals.
- The thumbnail and title should work together. The thumbnail creates curiosity. The title explains the reason to click.
- A useful thumbnail check is to shrink the image to phone size. If the main subject, emotion, and message are not clear at a small size, simplify the design.
Comparing Popular AI Editing Options
Different AI editing tools serve different creator needs. Some are better for professional editing, while others are better for fast content production, captions, templates, and short clips.
CapCut is useful for creators who want quick editing support, simple templates, auto captions, and short-form video features. It can help beginners create polished videos faster, especially when they need to repurpose long YouTube videos into shorter clips for social platforms. Its strength is speed and ease of use, making it a practical option for creators who do not want a complex editing setup.
Professional editing platforms are better for creators who need advanced color control, detailed sound editing, layered timelines, motion graphics, and team workflows. These tools can produce very polished results, but they usually require more learning and more editing experience.
Platforms like Pollo AI take a broader approach by combining AI-powered video creation, image generation, visual effects, and editing assistance in a single workflow. This can be particularly useful for solo creators and small teams that want to streamline content production without relying on multiple separate applications.
The best choice depends on your content style. A tutorial creator may care most about captions and screen clarity. A podcast creator may care most about audio cleanup and short clips. A product reviewer may need B-roll, close shots, and comparison visuals. A gaming creator may need fast highlight detection and energetic pacing. Creators looking for an all-in-one creative workflow may also find value in platforms such as Pollo AI, which support multiple stages of content creation from idea development to final video production.
Common AI Editing Mistakes
One common mistake is trusting AI too much. AI can create a decent first draft, but it may miss the reason a moment matters.
Another mistake is removing every pause. Natural speech needs breathing room. If every gap is removed, the video may feel rushed and uncomfortable.
A third mistake is adding too many effects. AI makes effects easy, but overuse can make a video look cheap.
A fourth mistake is ignoring the story. A clean edit is not enough. The video still needs a clear point.
A fifth mistake is using AI captions without review. Captions are part of the viewer experience. Errors can make the video look careless.
A sixth mistake is treating the thumbnail as an afterthought. The thumbnail should be planned as part of the video strategy, not created at the last minute.
Original AI Editing Quality Scorecard
Use this simple scorecard before publishing. Rate each area from one to five.
| Quality Area | Score Question |
|---|---|
| Hook | Does the opening create a reason to keep watching? |
| Clarity | Is the main message easy to understand? |
| Pacing | Does the video move without feeling rushed? |
| Audio | Is the voice clear and comfortable to hear? |
| Captions | Are captions accurate and easy to read? |
| Visual support | Do graphics and B roll help the message? |
| Thumbnail | Is the thumbnail clear and clickable on mobile? |
| Trust | Does the video avoid exaggeration and misleading claims? |
| Ending | Does the video close with a useful final takeaway? |
A strong video should score at least four in most areas. If the hook, audio, or clarity score is low, fix those before uploading.
This scorecard is useful because it keeps creators from judging only the technical side of editing. A video can look clean but still fail if the idea is unclear. A video can have strong visuals but still lose viewers if the audio is uncomfortable. A video can have good information, but still perform poorly if the opening is weak.
Practical Expert Tips for Better AI Editing Results
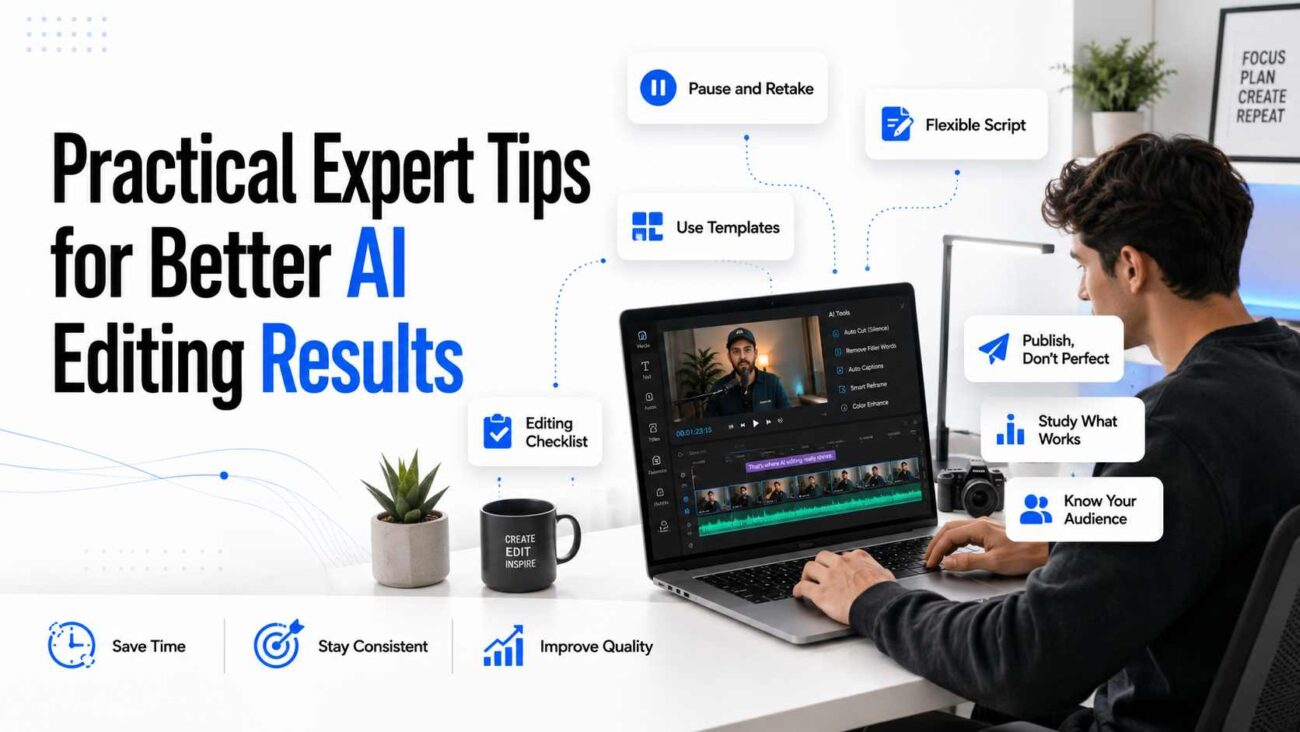
- Record with editing in mind. Pause briefly between sections. If you make a mistake, stop and repeat the sentence cleanly. This gives AI and manual editing tools better cut points.
- Keep your script flexible. A fully scripted video can sound stiff. A loose outline often feels more natural while still keeping the video organized.
- Use templates for repeated elements. Intros, lower thirds, subscribe reminders, end screens, and brand colors should not be rebuilt every time.
- Create a personal editing checklist. This helps keep quality consistent even when you are tired.
- Do not chase perfection on every video. A helpful video posted today is often better than a perfect video that never gets published.
- Save your best-performing structures. When a video works well, study the opening, pacing, title, thumbnail, and length. Use that information for future edits.
Keep your audience in mind while editing. A beginner audience may need slower explanations and more visuals. An expert audience may prefer a faster pace and fewer basic details. AI cannot always understand that difference, but you can.
Final Review Before Uploading
Before publishing, watch the full video without editing for a moment. Try to watch like a normal viewer.
Ask these questions:
- Do the first 15 seconds give a clear reason to keep watching?
- Does the video deliver what the title promises?
- Are there any slow sections that can be tightened?
- Is the audio clear from start to finish?
- Are captions accurate?
- Is the thumbnail clear on mobile?
- Does the video feel natural, or does it feel over-edited?
This final review is where creators catch problems AI missed. It is also where the video becomes more polished, more trustworthy, and more enjoyable to watch.
Final Conclusion
AI video editing tools can save creators hours, but they work best when used with a clear strategy. Let AI organize footage, create a rough cut, generate captions, clean audio, and prepare short clips. Then use human judgment to improve pacing, protect meaning, check quality, and make the video feel natural.
For YouTube creators in 2026, the smartest approach is not to let AI control the whole process. The smartest approach is to use AI as a skilled assistant. It helps you edit faster, stay consistent, and publish more often while still keeping your own voice, style, and creative direction at the center.